


Smart Door Access Controller
Product Code: YO191-DR (R2)
- Multiple Access Device Integration
- Management of Access Permissions via the Yoswit App
- Customizable Access Schedules
- Wide Compatibility with Access Control Systems
- Streamlined Access Control

Features


Run Your Home from Your Phone
Bluetooth Version
We use Bluetooth 4.2 (also sometimes referred to as Bluetooth Low Energy or BLE) as the core processor of our products.
Compatible Devices
We support all Smart Ready products with our application installed. Please Click Here to get the growing list.
iOS Support
We support iOS 13.0 or later.
Android Support
We support Android 7 or later.
| General | ||
| Product Name |
Yoswit Smart Door Access Controller
|
|
| Model |
YO191-DR (R2)
|
|
| Revision |
V1.0
|
|
| Compliance |
CE, FCC, RoHS
|
|
| Manufacturer |
Designed by Yoswit in Hong Kong, China / Assembled in Guangdong, China
|
|
| Dimensions | ||
| Product Size |

|
|
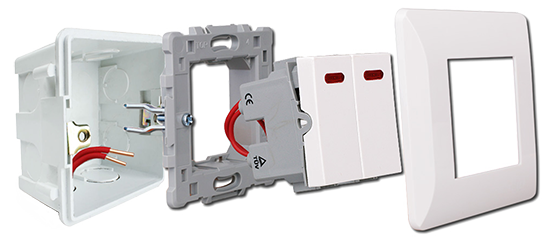
| Specification Option | ||
| Interior Image |

|
|
| Operation Power |
DC12V±10%
|
|
| Power Consumption |
≤10W
|
|
| Port1 |
8 Channels, paired to 4 COMs
|
|
| Port2 |
8 Channels, paired to 4 COMs
|
|
| Port3 |
8 Channels, paired to 4 COMs
|
|
| Port4 |
8 Channels, paired to 4 COMs
|
|
| RS485 |
1 Channel, Baud rate: 9600
|
|
| Operation |
Input Unit
|
|
| Operating Temperature |
20℃ to 85℃
|
|
| Operating Humidity |
0-95%RH, Non-Condensing
|
|
| Package | ||
| What's in the Box |

|
|
WARNING!
Disconnect Power
To prevent serious shock or electrocution, always disconnect the power at the service panel before installation. Only licensed electricians should carry out the installation.
Basic Installation
1
Remove the old switch and disconnect the wires, please make sure that there is about 5mm of bare wire exposing.
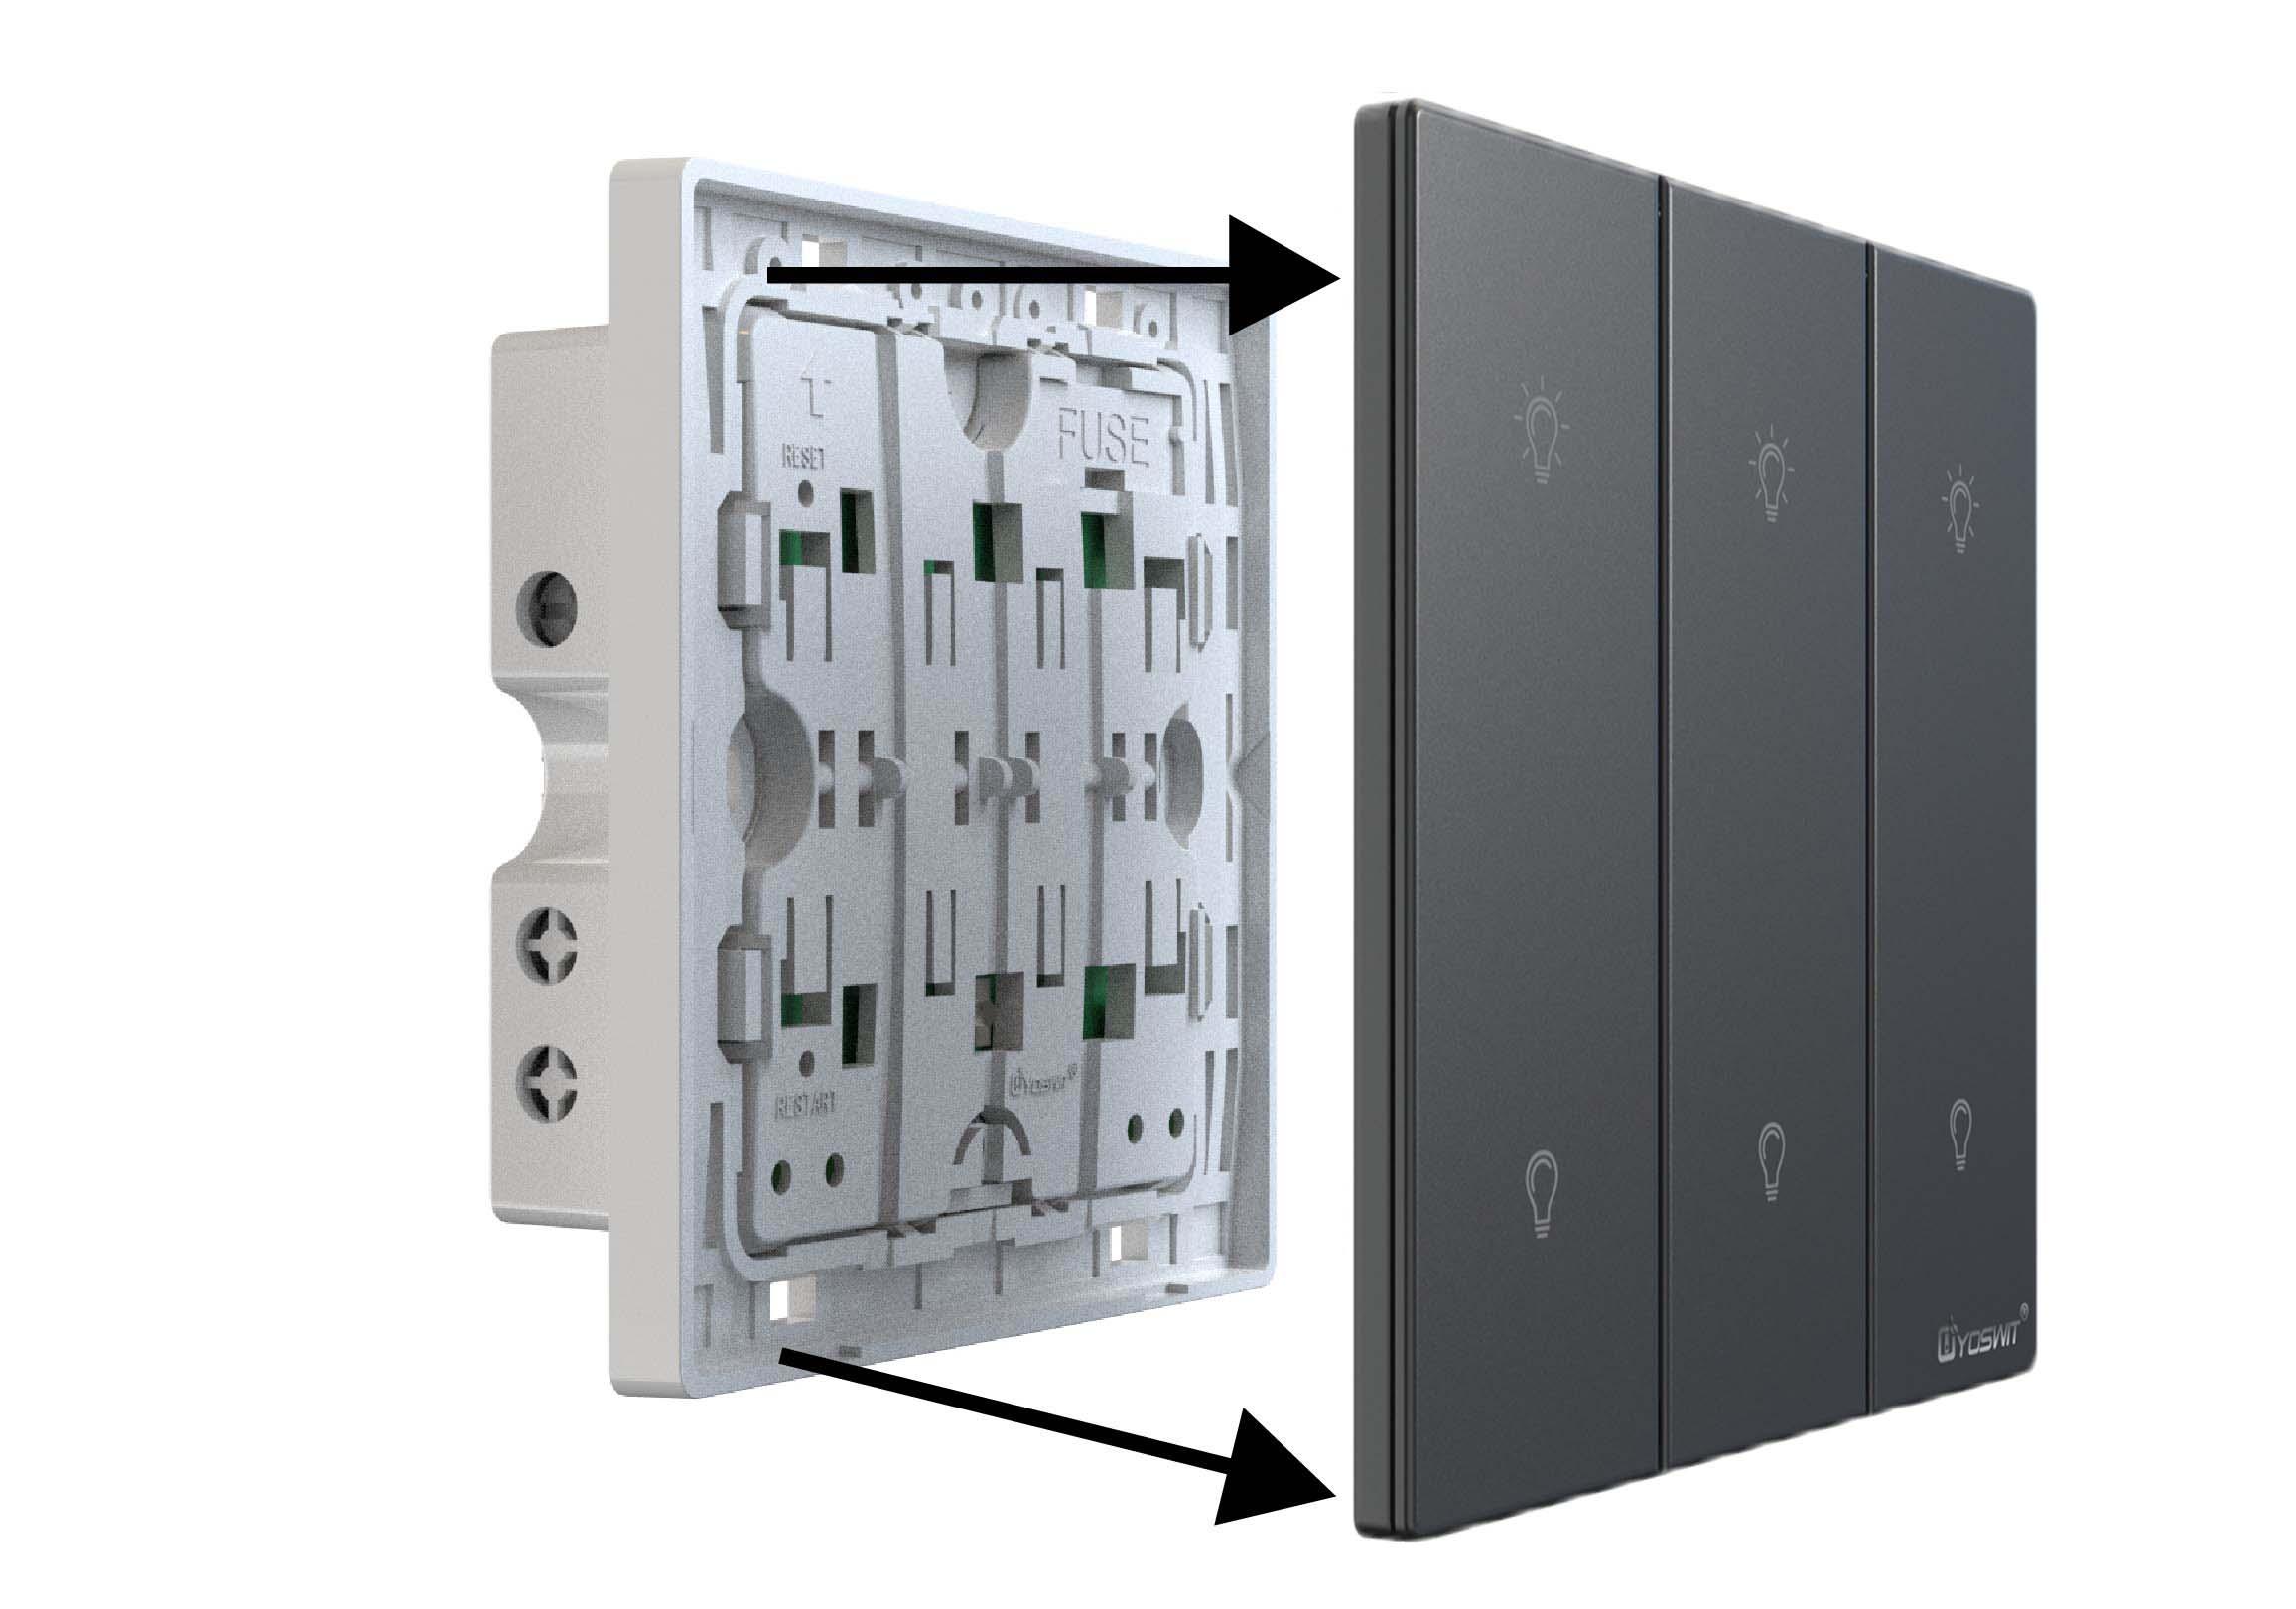
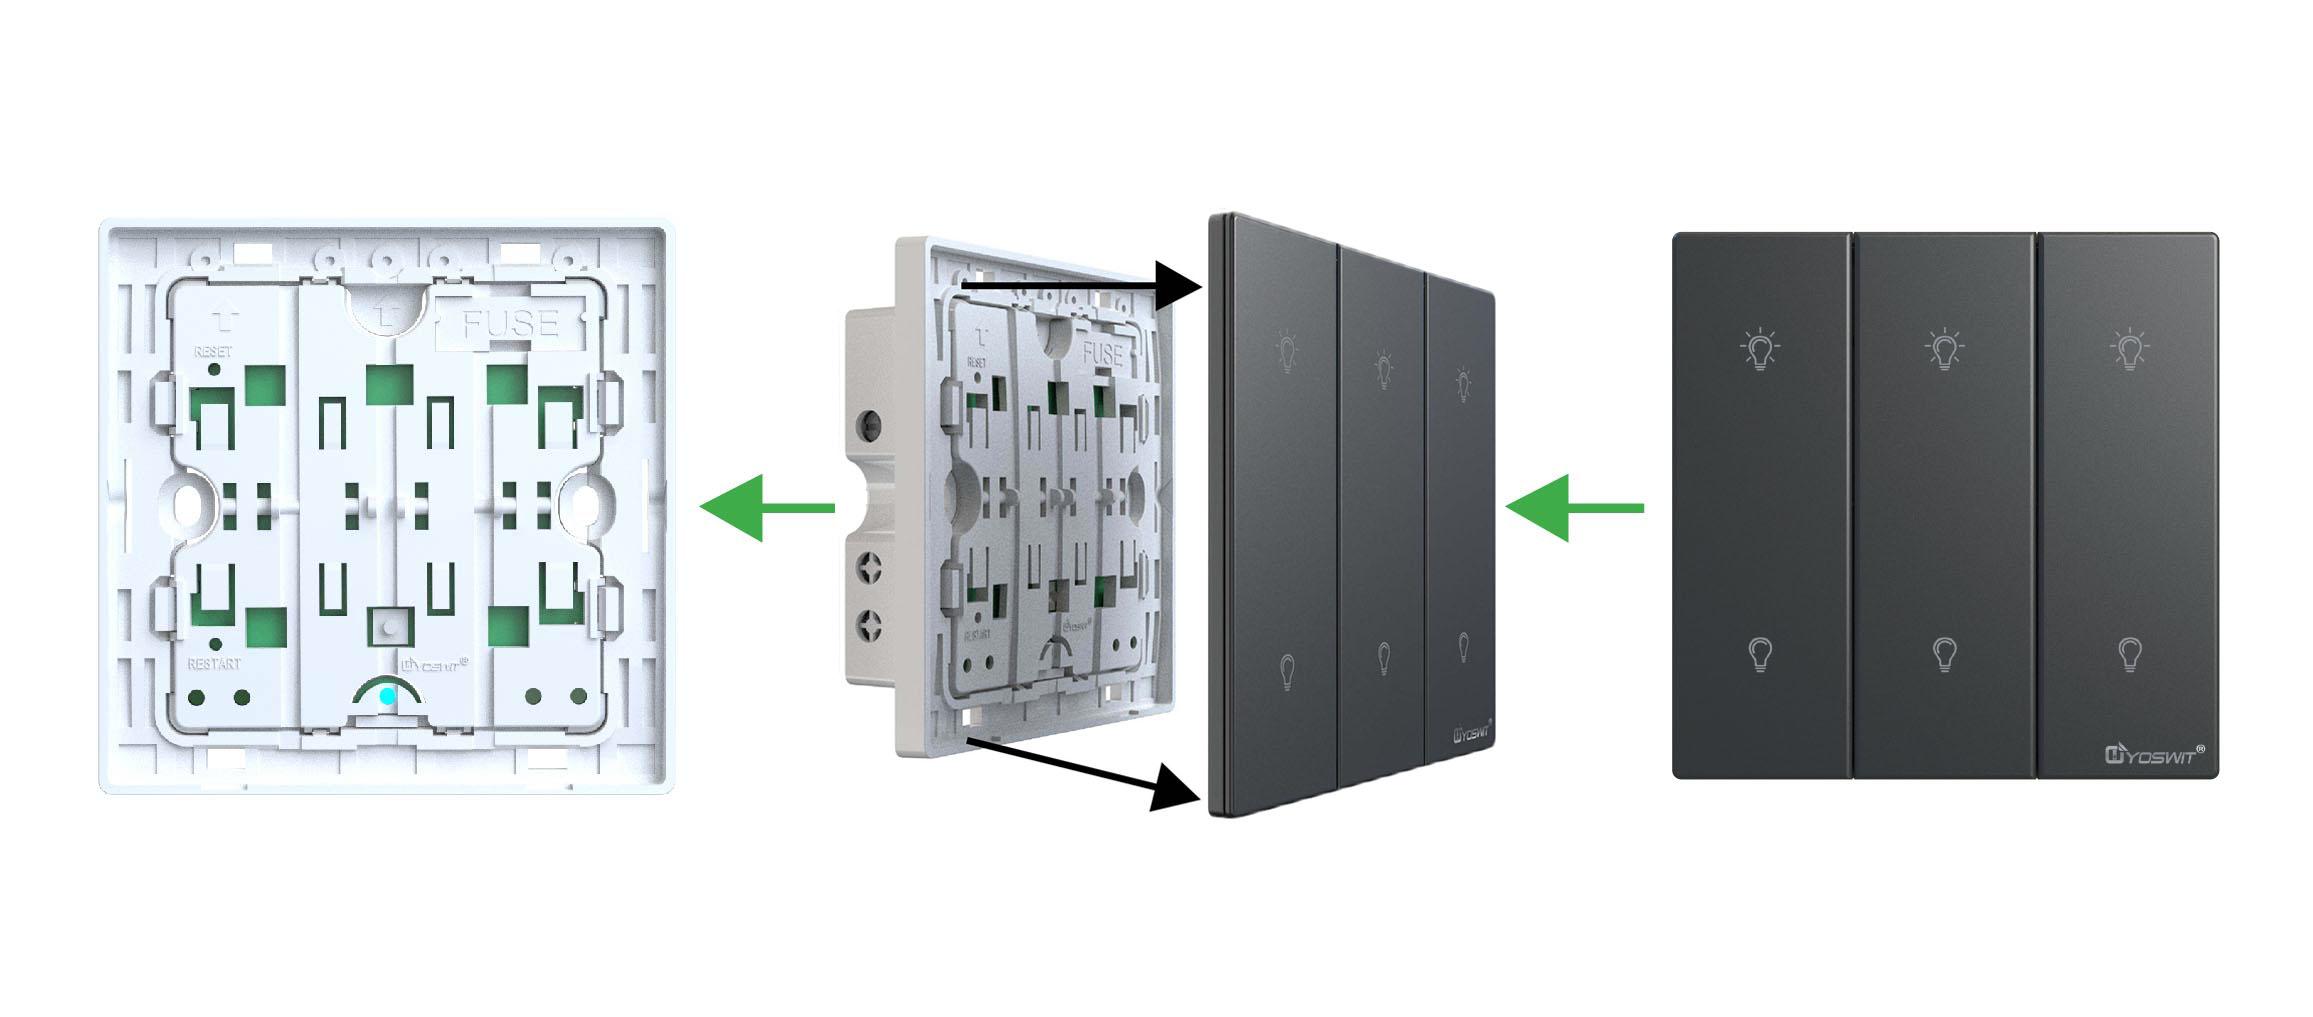
2
Insert a small, flat screwdriver into the notches on the wall plate and twist gently to pry it from the frame to remove the wall plate.
3
Connect the wires to the switch case. Make sure that the wires are secure.
Warning
To reduce the risk of electric shock, the unit shall be properly grounded in accordance with local regulations or codes. Failure to connect the ground wire will result in an unsafe installation that could lead to personal injury.

4
Fasten the switch on the wall by placing the proper wall mount components.
5
Turn on the circuit breaker and connect to the power.
6
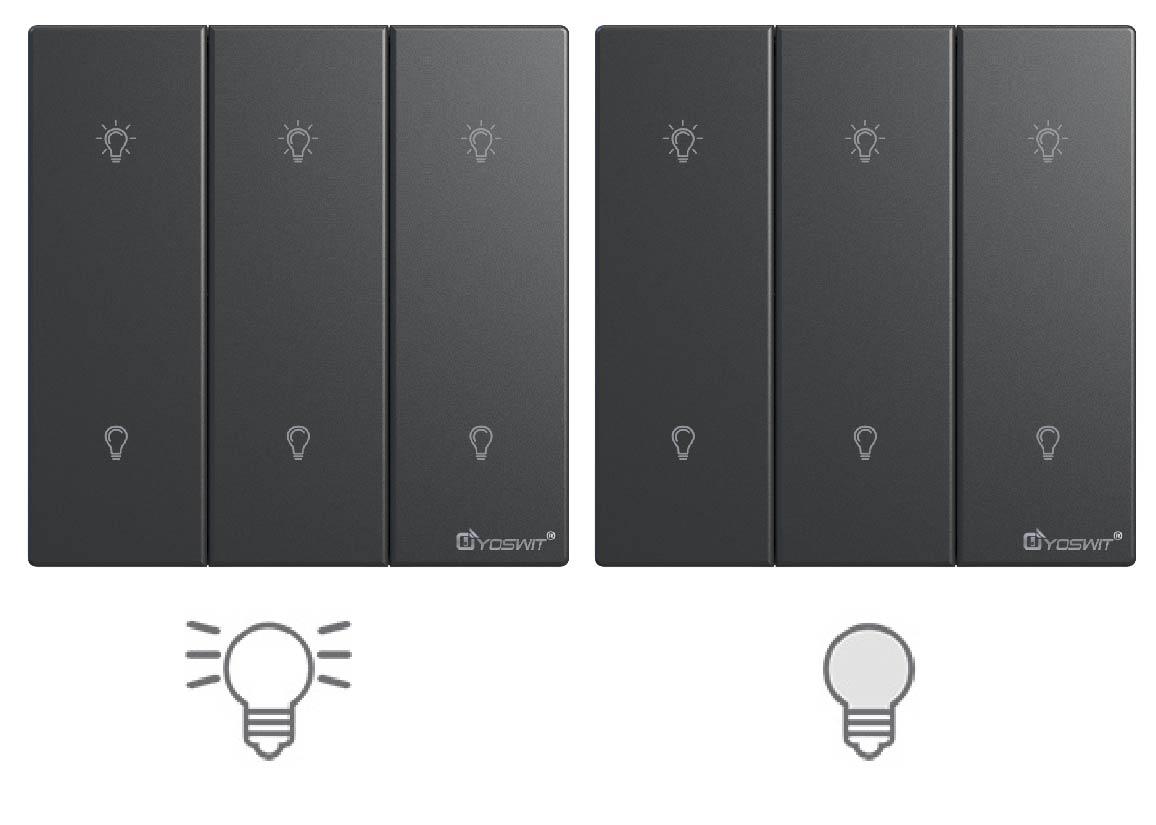
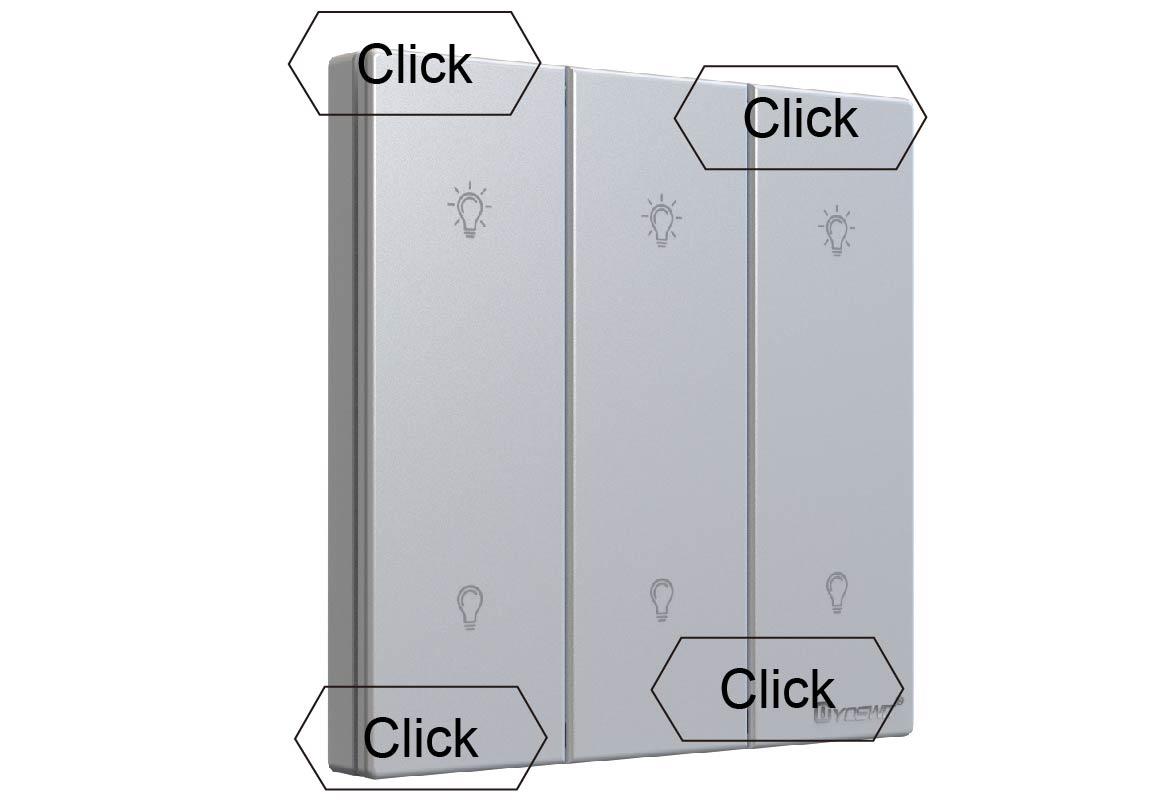
Test your switch by tapping 2 to 3 times. Your lights will be on/off.
7
Snap the wall plate onto the frame. There are four click-stops for adjusting the fit of the wall plate to the switch and the wall.
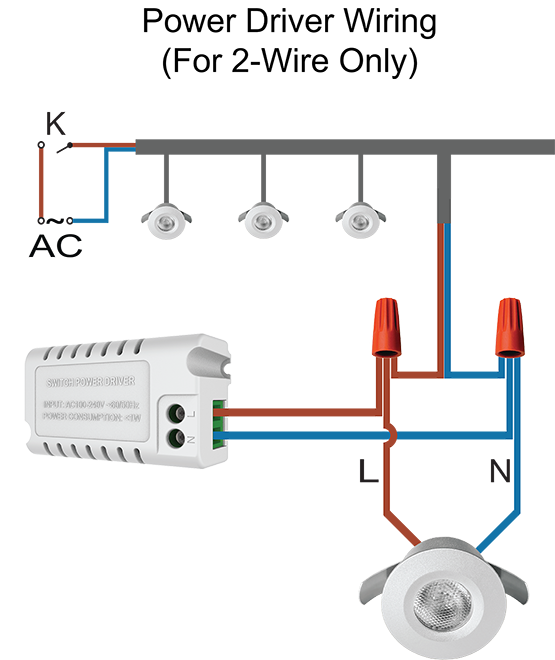
Installation - LED Power Stabilizer (Optional)
1
After 2-wire (without neutral wire) wiring, in case you encounter conditions of circuit instability, lighting flickering, or no light, you may (i) adopt 3-wire (with neutral wire) wiring method, or (ii) place the power driver at two ends of any one lamp as shown in the diagram below:
Installation complete.
Download the Yoswit App and enjoy it now!
Yoswit will automatically detect the switch and add it to your device list.
| Downloads | ||
| Certification | ||
| User Manual | ||
| Data Sheet | ||
| Leaflet | ||
| Yoswit App |
|
|
| Yoswit App (Android Apk) | ||